Text alternative for this video
The walkthrough is a silent 13-second screen recording — there is no narration, and nothing is typed or clicked on screen. Five EasyTaxer screens simply fade from one to the next:
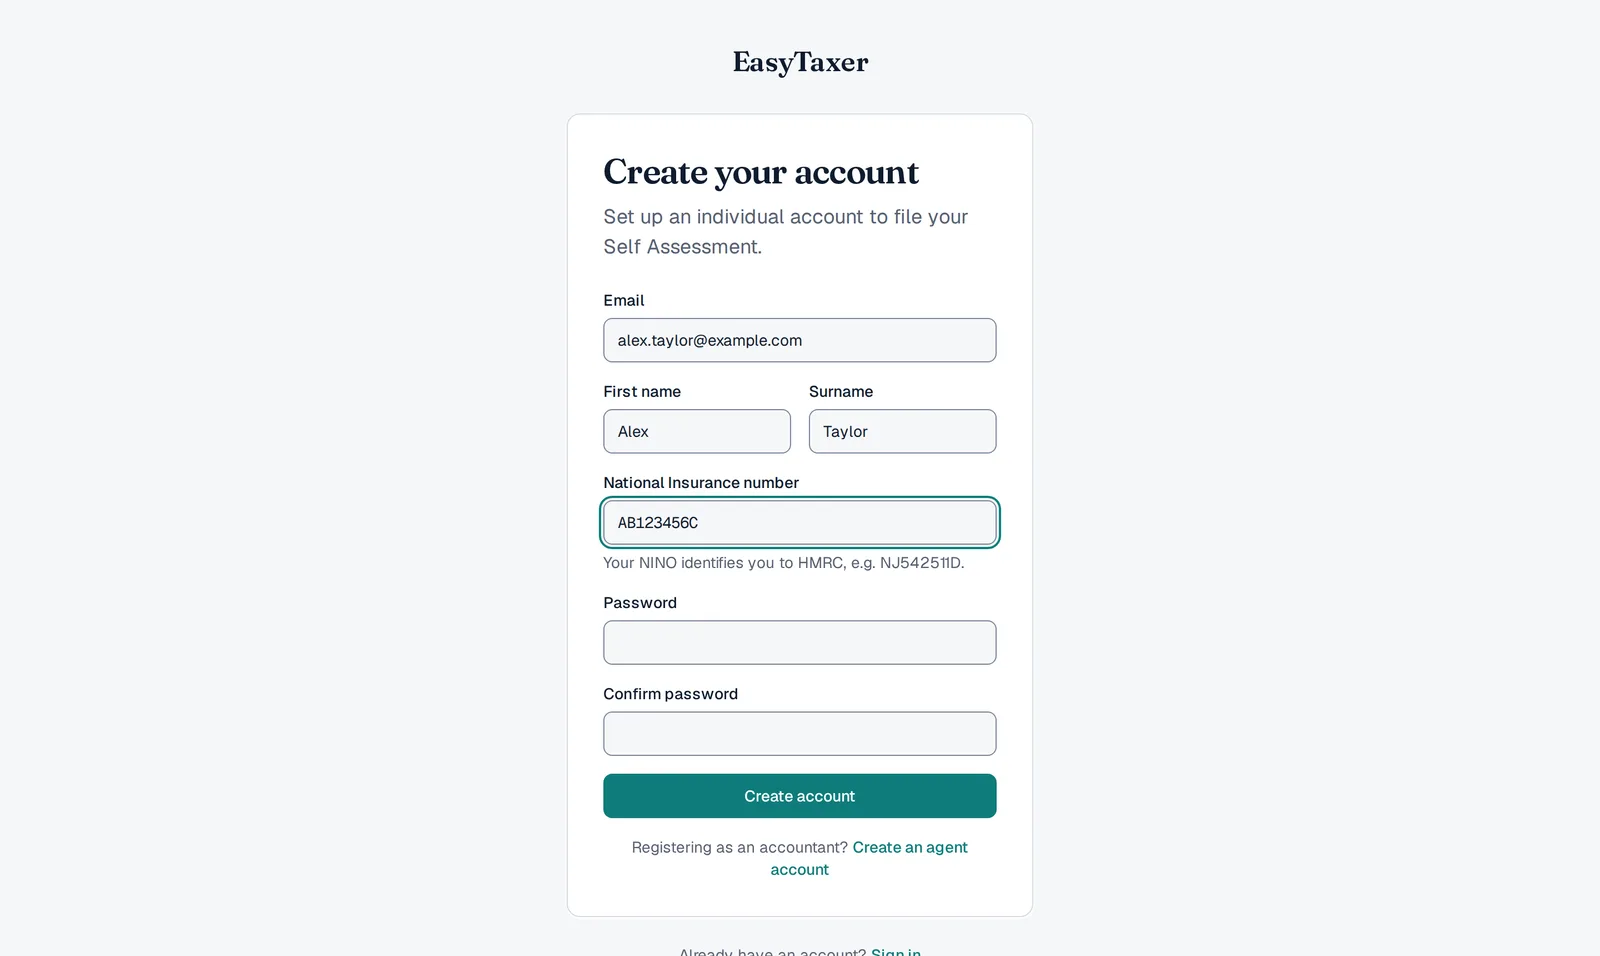
- Create your account. The EasyTaxer sign-up form: a ticked box agreeing to the Terms and Conditions and Privacy Policy, a Sign up with Google button, then email (blurred in the recording), first name and surname, a password and a confirmation of it.
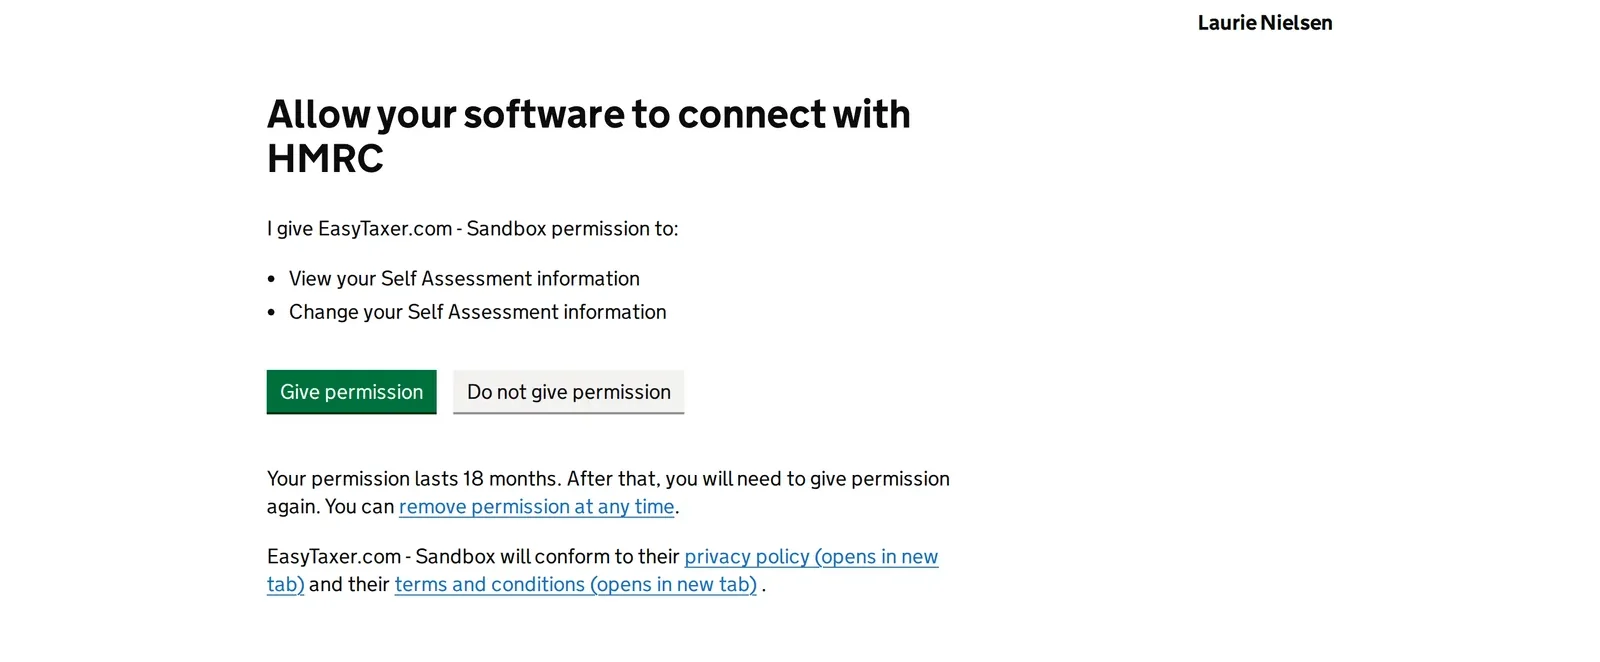
- Authorise EasyTaxer with HMRC. HMRC's own GOV.UK page headed “Allow your software to connect with HMRC”, captioned on screen by a black ribbon across the top, over two lines: “HMRC's own GOV.UK authorisation page – shown for guidance” and “Captured on HMRC's test service, which names our test app ‘Easytaxer-Staging’” — which is why the page itself asks you to give Easytaxer-Staging permission. It names the three permissions you grant — view your Self Assessment information, change your Self Assessment information, and read Self Assessment assist data — offers Give permission and Do not give permission, and notes that permission lasts 18 months and can be removed at any time.
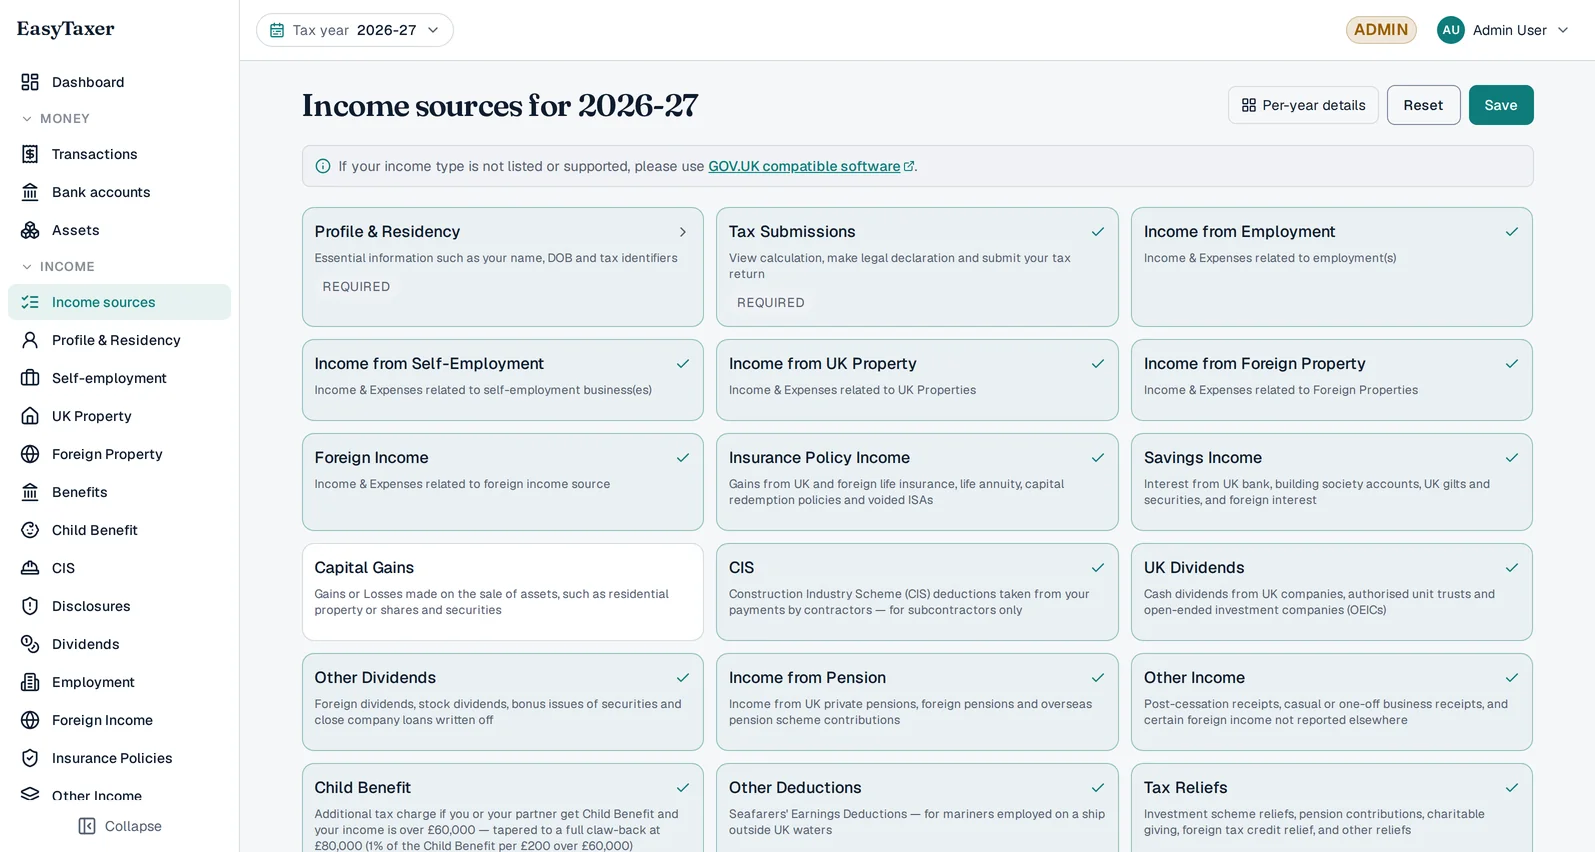
- Choose your income sources. The “Income sources for 2026-27” screen: a grid of income-type tiles, each showing whether it is switched on for you — Profile & Residency and Tax Submissions marked Required, the businesses HMRC holds marked Selected for you, one of them Locked. Which ones you can switch on is set by what EasyTaxer files today — see Add an income source below.
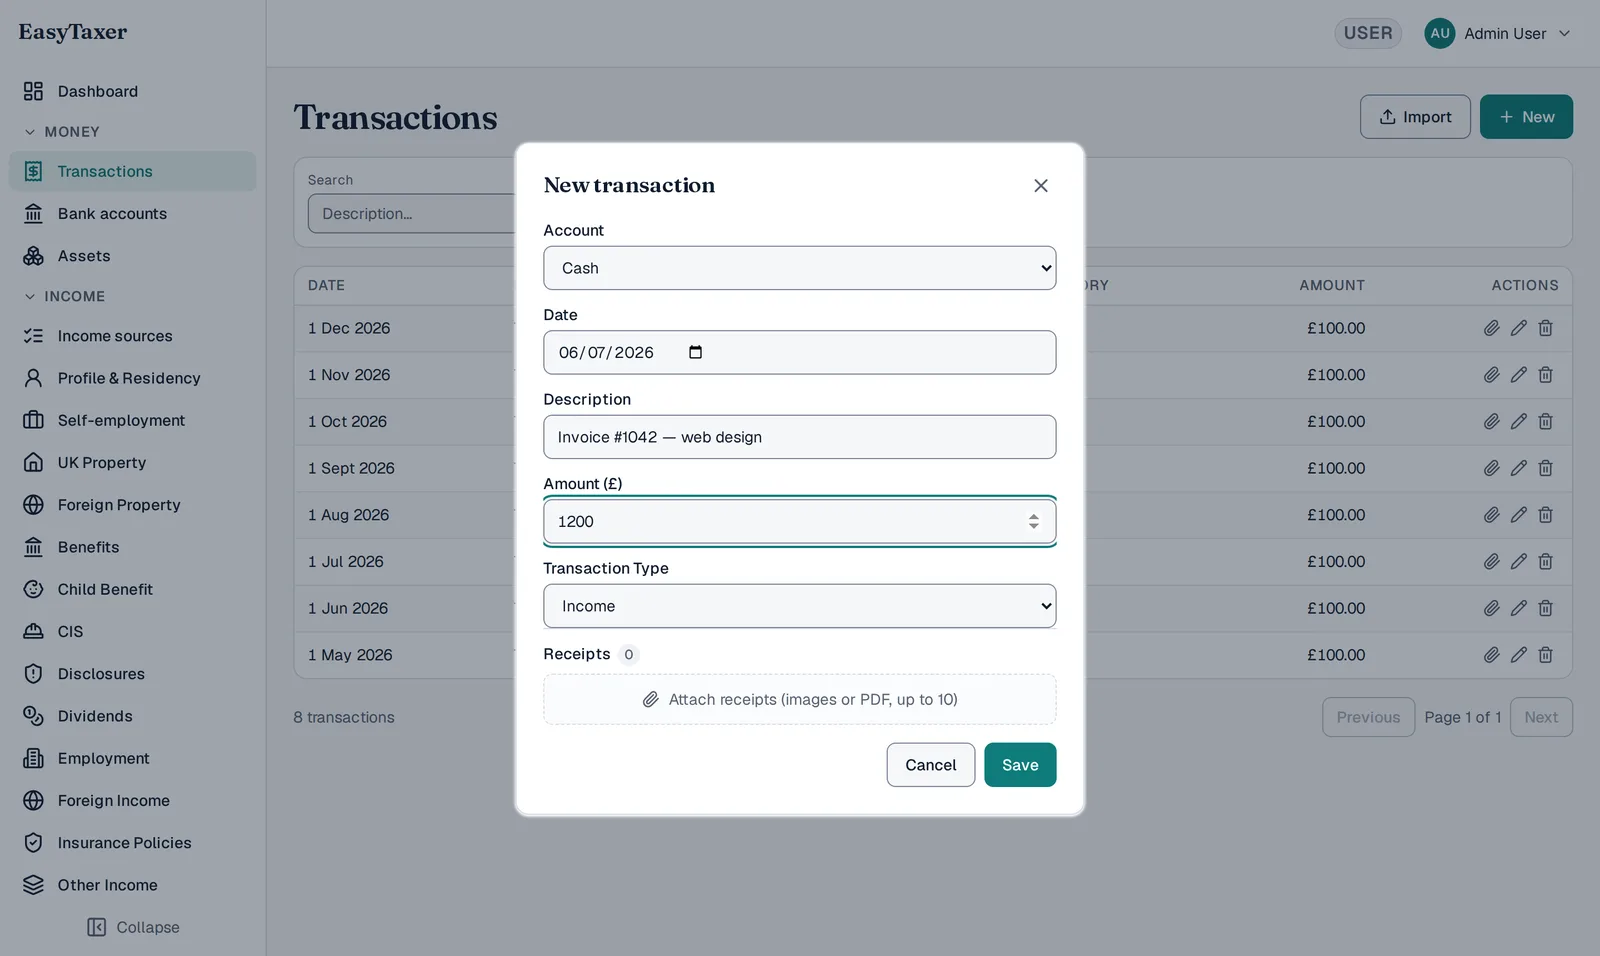
- Record a transaction. The Transactions list with the New transaction dialog open over it: account (Cash), date, description (“Website design for a client”), amount (£850), transaction type (Income), an area to attach receipts, and Save.
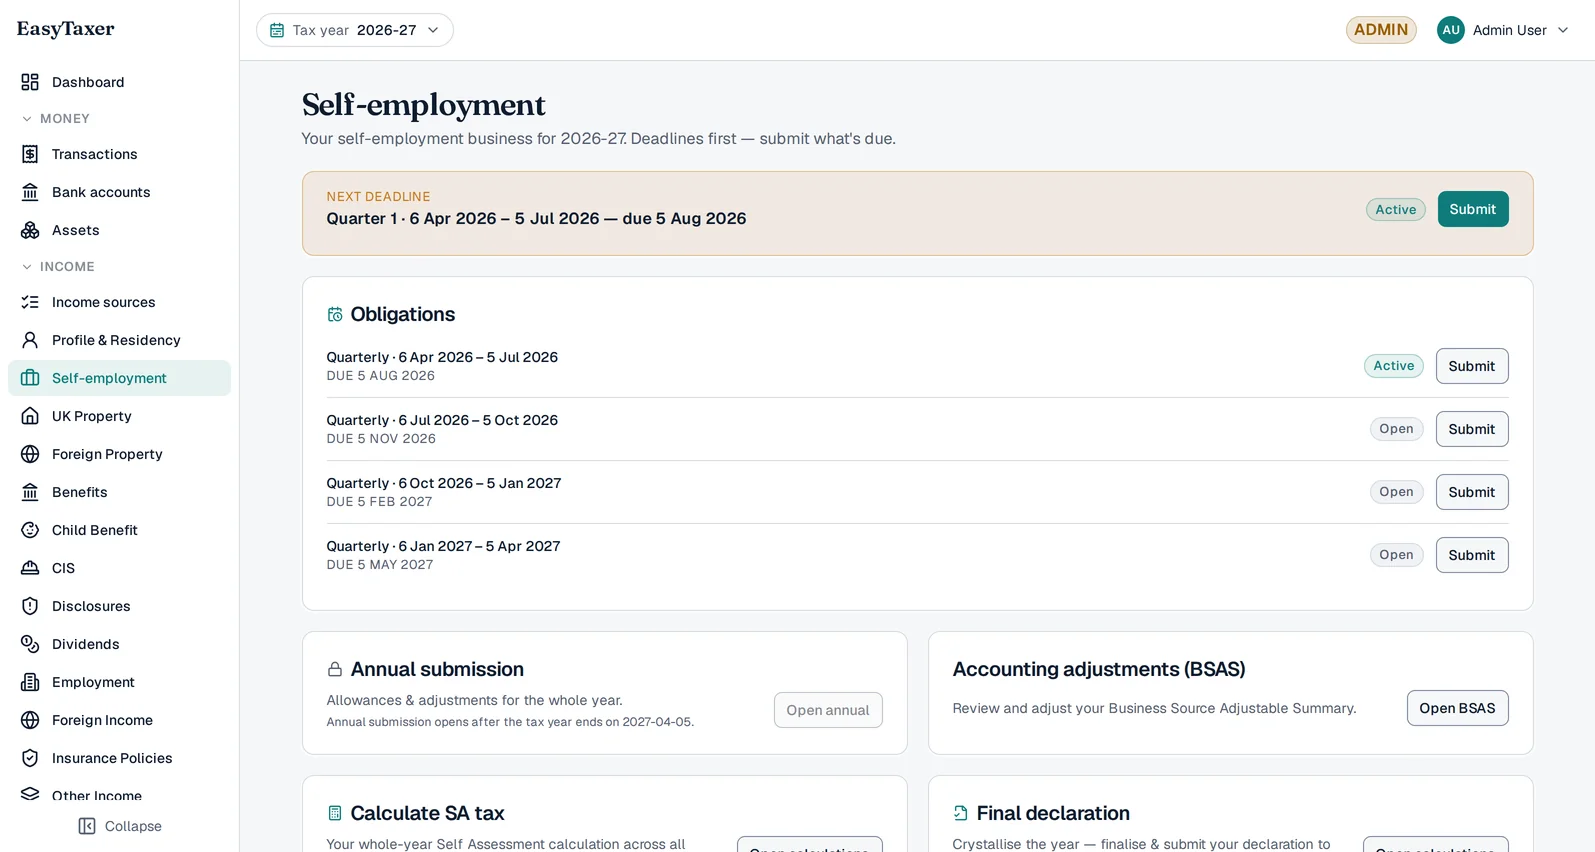
- Your dashboard. A Next deadline panel highlights a Company X self-employment quarterly update — the period it covers, that it is overdue, and an Open button. Under it, an All upcoming deadlines list shows one row per business and quarter, each with its status and an Open button.
Before you start
Have these to hand — it makes setup quick:
- Your National Insurance number (NINO) — not for signing up, but for connecting to HMRC in step 2.
- Your HMRC online sign-in (Government Gateway user ID and password).
- Details of your business or property income.
Create your account
Head to the register page and enter your name, email and a password — there is no National Insurance number to find first. You'll confirm your email with a short activation code, and you're in. Setting up is free — you only pay when you make your first HMRC submission.
Connect to HMRC
To submit on your behalf, EasyTaxer needs your permission to talk to HMRC. This is where your National Insurance number is asked for — it is what tells HMRC whose tax records to send back, so we ask for it once, here, rather than before you have seen anything. You'll be taken to HMRC's own secure sign-in page to authorise the connection — you never share your Government Gateway password with us. This takes about a minute. For a full walk-through of the permissions, see Connecting EasyTaxer to HMRC.
Add an income source
Tell EasyTaxer what you do — a self-employment business, a rental property, a job, a pension, or all of them. You can add as many income sources as you have.
Filing to HMRC is live today for:
- Child Benefit
- CIS
- Disclosures
- Dividends
- Employment income
- Foreign income
- Insurance policy gains
- Other deductions
- Overseas property
- Partnership income
- Pension charges
- Pensions
- Savings interest
- Self-employment
- State benefits
- Tax reliefs
- UK property
Capital gains and other income are not yet available: HMRC has not published a 2026-27 version of either that we can file against.
Record income & expenses
Enter your transactions as you go — type them in directly or import them from a spreadsheet. EasyTaxer categorises everything and calculates your estimated tax in real time, so you always know where you stand.
Make your first quarterly update
When a quarter ends, EasyTaxer shows you the figures it will send and lets you submit your quarterly update to HMRC with a single confirmation. That's it — you're compliant. For the detail, see How to submit a quarterly update.
That's the whole journey
Once you're set up, EasyTaxer keeps track of every deadline and walks you through each submission when it's due.
Create your account